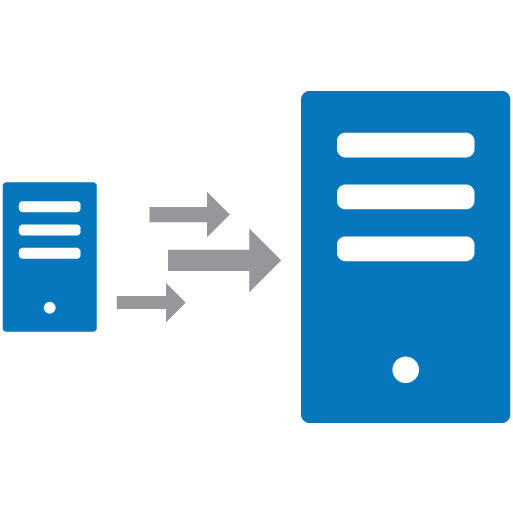
Server migrations are performed when the existing server runs out of required resources or when you have a better solution as compared to the one used. In any cases migrations are very important as it can cause downtimes and data loss. We will be going through recommended techniques that will help us minimal downtime and no data loss. There are different servers and we will be covering them individually,
* Core Webserver migration
* cPanel server migration
* Plesk server migration
* MySQL server migration

Preparing the existing server for Migration –
First we will analyse all the scripts on the server along with their versions. We have to use the same versions on the new box unless we are upgrading php/mysql on the new box. The following check list can be handy
Check server OS
Check Apache and PHP versions
Check Mysql version
Note down the php modules installed on the server
Check if there are any additional scripts such as FFMPEG, memcache or wowza installed.
Configuring the new server –
Install the operating system based on the requirement and install all other scripts that was noted during the previous step. Ensure that the apache and php versions match as we may run into errors if the versions are higher on the new server.
Installing and configuring LAMP box
Transfer of data –
Now its time to copy the contents. Check the old server for the data directories, assuming that your contents are hosted in /var/www/html we are performing the steps below,
[dropshadowbox align=”center” effect=”lifted-both” width=”auto” height=”” background_color=”#ffffff” border_width=”1″ border_color=”#dddddd” ]
cd /var/www/
rsync -avz html/ root@destinationserverip:/var/www/html/[/dropshadowbox]
If the contents are large run the above command on screen. Once the data transfer is completed or running in screen we can create the database backup.
[dropshadowbox align=”center” effect=”lifted-both” width=”auto” height=”” background_color=”#ffffff” border_width=”1″ border_color=”#dddddd” ]
cd /usr/local/src/
mysqldump -u root -p –all-databases > all_databases.sql
rsync -avz all_databases.sql root@destinationserverip:/usr/
Configuring websites and Restoring contents
Once the content and database transfers are complete we can start configuring the websites in the new server.
vi /etc/httpd/conf/http.conf/
edit the following lines
[dropshadowbox align=”center” effect=”lifted-both” width=”auto” height=”” background_color=”#ffffff” border_width=”1″ border_color=”#dddddd” ]
Listen 80
NameVirtualHost ipaddress:80
NameVirtualHost ipaddress2:80
NameVirtualHost ipaddress3:80[/dropshadowbox]
Edit and add the following lines according to the websites
[dropshadowbox align=”center” effect=”lifted-both” width=”auto” height=”” background_color=”#ffffff” border_width=”1″ border_color=”#dddddd” ]
<VirtualHost ipadress:80>
ServerName domainname.com
ServerAlias www.domainname.com
DocumentRoot /var/www/html/domainname.com
ErrorLog /var/www/html/logs/www.
</VirtualHost>[/dropshadowbox]
save the file and restart apache.
/etc/init.d/httpd restart
Assuming that you have the website contents inside /var/www/html/ on both the servers it is not necessary to move the contents. If the website contents are in a different folder please move the contents accordingly.
[dropshadowbox align=”center” effect=”lifted-both” width=”auto” height=”” background_color=”#ffffff” border_width=”1″ border_color=”#dddddd” ]
cd /usr/local/src/
mysql -u root -p — < all_databases.sql[/dropshadowbox]
Testing the websites
We have completed configuring the websites and restoring the database and contents. We can proceed with the testing of each site. Its a myth that we cannot test websites from new server but it can be done by adding hosts entry for the website along with the new server IP address.
For windows systems – administrator access required
[dropshadowbox align=”center” effect=”lifted-both” width=”auto” height=”” background_color=”#ffffff” border_width=”1″ border_color=”#dddddd” ]
* Go to Run and open “c:\Windows\System32\drivers\
* Open the file through notepad
* add the IP and website names
syntax – IPaddress domainname.com www.domainname.com
eg –
173.112.250.11 zombieslounge.com www.zombieslounge.com
173.112.250.11 criarsolutions.com www.criarsolutions.com[/dropshadowbox]
save the file. Then open the website through browser and navigate through the sites. Ensure all the pages are coming up.
Common issues
PHP Memory Limit – The existing server might have used higher memory limit for the scripts that may need adjustments on the new server. Open the php.ini file and search for memory_limit and ensure its set to something similar as old server
Error Establishing Database Connection – The database permissions are usually copied over along with the dump but if you face any issues, redo the permssion for the specific website. The database details will be available on the website configuration file and the same has to be used in the command below
[dropshadowbox align=”center” effect=”lifted-both” width=”auto” height=”” background_color=”#ffffff” border_width=”1″ border_color=”#dddddd” ]
mysql -u root -p
grant all privileges on databaseuser.* to ‘databasename’@’localhost’ identified by ‘databasepassword’;
flush privileges;
quit[/dropshadowbox]
Missing PHP modules – Sometimes scripts might need additional php modules and the sites may not work because of this. Compare the existing modules with the modules list of the old server. Install the missing ones.
Error 500 – During rsync sessions the .htaccess can be missed, cross verify if the .htaccess files are copied over.
For any other CMS based issues, check the logs for each website and troubleshoot accordingly.
Migration to new server
Once all websites are tested through the hosts file we are ready to cut over the websites. You have to find a suitable off peak hours when the cut over can be performed. Once identified, just change the A records for a each site to be pointing to the new server. In case you are doing this after several days and the contents could have been altered you can run the rsync and mysql dump once again.
Hopefully this helps you with a smoother migration, keep us posted on your experience.
Image Source: Googally

